How can I add a signature into a report/test certificate in PATGuard 3?
1. Create a file of the desired signature.
2. Save the file as a ‘bmp’, ‘tif’ or ‘jpg’.
3. Select from the reports section the report you want to add the signature to and right click on it.
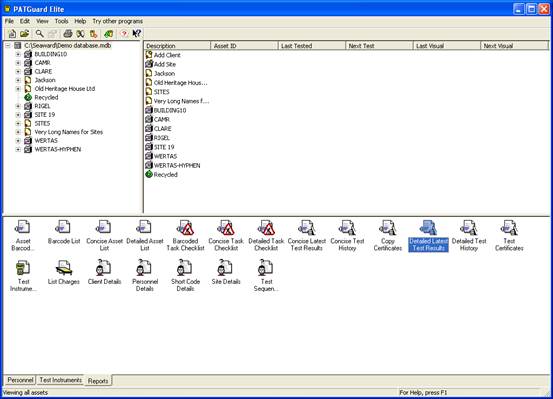
4. From the drop down list select ‘copy’.
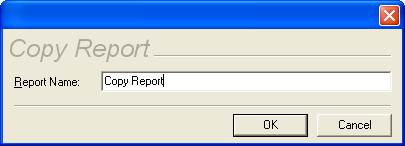
5. In the box that now appears enter a name for the new report.
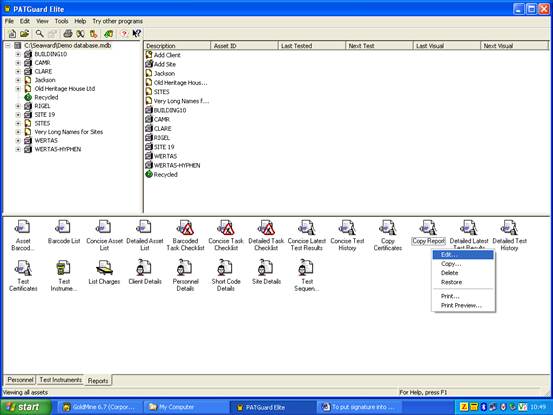
6. Select from the reports section the copy report just created.
7. Right click on the copy report.
8.From the drop down list select ‘Edit’.
Note: The Edit option will not be available if the PATGuard user account does not have Edit permissions. An Admin PATGuard user can check other users’ permissions in Tools->User Accounts.
9.. This will open the report in edit mode.
10.In the centre panel at the bottom are three tabs ‘Layout’, ‘Layout Preview’ and ‘Preview’.
11.Select ‘Layout’ and the centre panel will show the layout view.
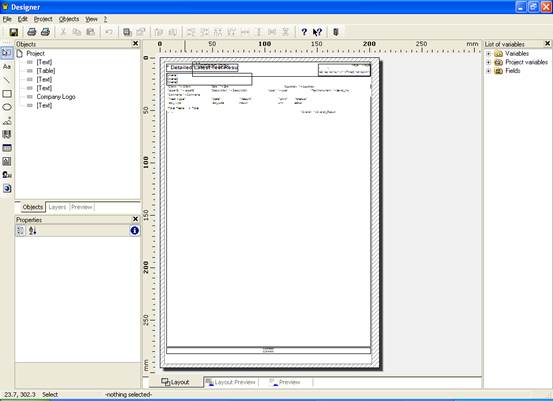
12. Down the left hand side are icons and one of these is the ‘Picture’ icon.

13. Select this icon and move your mouse over the centre panel.
14. When the mouse is over the layout view the mouse pointer becomes a target cross.
15. By holding down the left mouse button a box is created by dragging the mouse across the display.
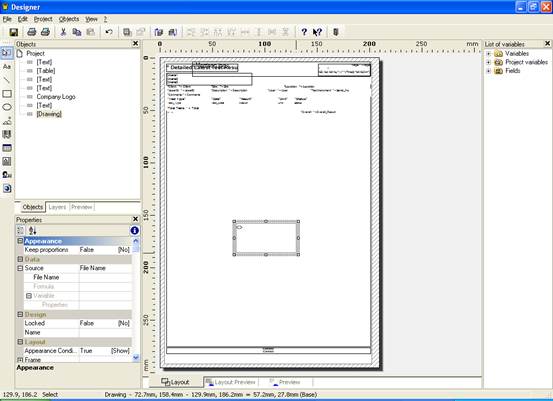
16. The property table for this box appears in the bottom left corner.
17. In this box under ‘Data’ and ‘Source’ there is the ‘Filename’ box.
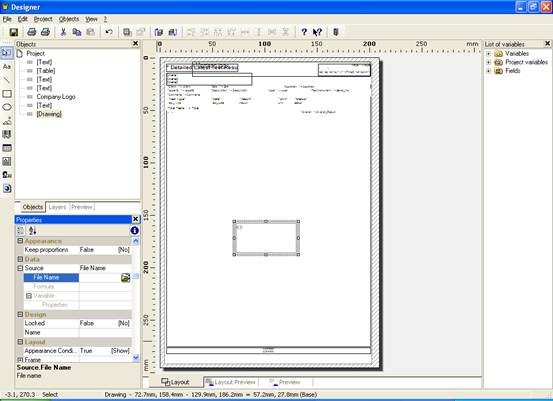
18. Click in this box and on the right hand side the browse icon appears.
19. Click the icon and the browse box appears on the screen.
![]()
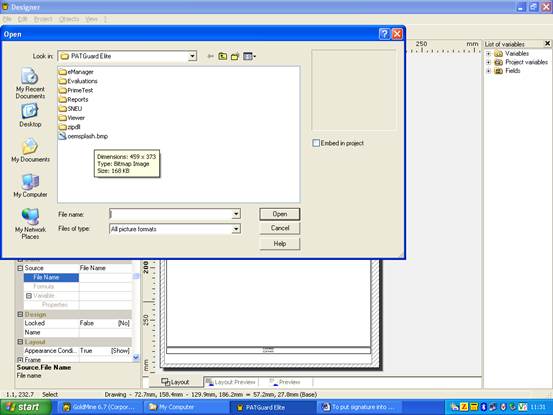
20. In the browse change the ‘Look in’ to the correct folder for your signature file.
21. On the screen your file should appear which you select.
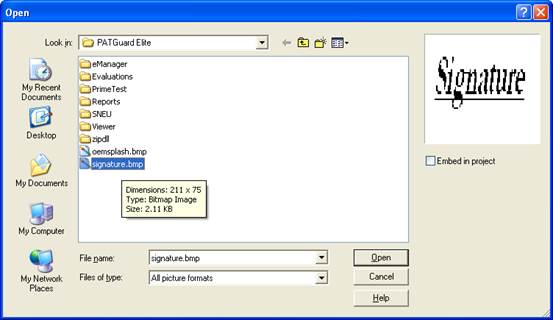
22. Click the open button and the file name is put into the box.
23. Right in the middle of the centre panel and select the ‘Object List’.
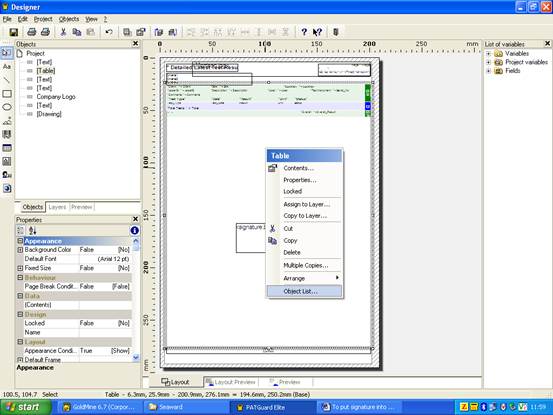
24. The ‘Object List’ box appears on the screen.
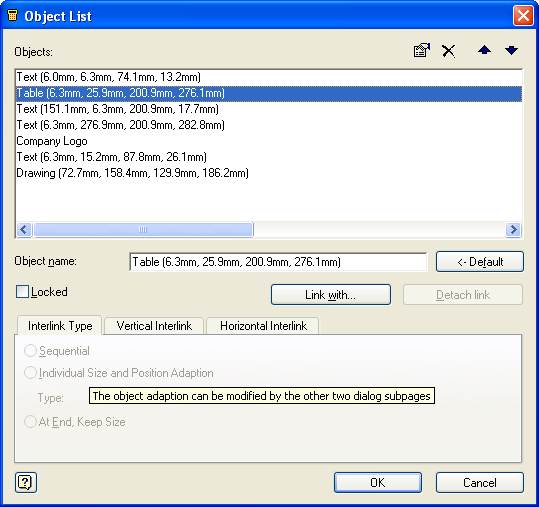
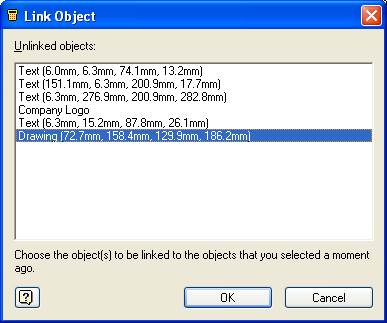
25.Click on the ‘Link with’ button to get the ‘Object link’ box.
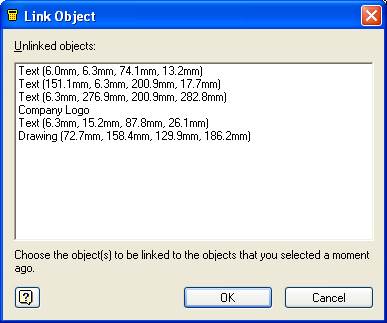
26.In this box select the line ‘Drawing (..)’ and click ‘OK’.
(This will put the signature at the end of the report. To put the signature at the end of each certificate select ‘Table’).
27. This returns you to the ‘Object List’.
28. In the object list are all the lines for the areas on the printed page.
29. The line with ‘Table’ should be highlighted.
30.Under this is the drawing line.
31.Highlight the drawing line.

32. At the bottom of this box click on “At End, Keep Size”.
33. Click ‘OK’ and exit the edit mode.
34. The signature is now set up for use with this report.

I'd like to talk to a sales advisor


Sign up to our Newsletter.
Stay up to date with the latest industry and product news, as well as our free educational content such as webinars and our expert guides.
Close