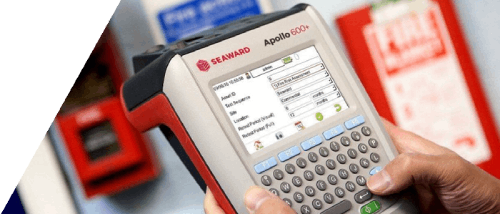
How to clone your Apollo 600+?
The following document is intended to be a troubleshooting guide to help you to clone the settings from one Apollo+ instrument to another Apollo+ instrument, ensuring they are setup the same way (this is not applicable to the Apollo 400). Please check all aspects of this before contacting the technical support helpline.
1. Please register your Apollo to receive an additional 12 months warranty plus full access to Product Support, you can do this at www.seaward.com/register
2. Please ensure your Apollo has the latest firmware installed, to do this please see the following link: www.seaward.com/apolloplus
Creating a Clone File
On the Apollo+ you wish to clone the data from:
3. From the Apollo+ “Home Screen” ![]() select menu/options, function key “F4”
select menu/options, function key “F4” ![]() .
.
4. In the menu select “Download” by using the arrow keys or selecting, key number “5”![]() .
.
5. In the “Download from Apollo” field select “Clone Data”, using the arrow keys to select from the dropdown menu.![]() In the “using:-” field select “ USB-PC cable” or “
In the “using:-” field select “ USB-PC cable” or “![]() Flash Memory Stick” (Apollo 600+ only).
Flash Memory Stick” (Apollo 600+ only).
6. Connect to the PC with USB cable or insert USB memory stick when prompted and press “F4” to save all ![]() .
.
7. The Apollo+ will beep and display “Data has been saved OK” when the clone file has been transferred.
8. If you have used the USB – PC lead you will need to save the file to a location on your PC. If you have used a USB memory stick you can then remove it from the tester and the file will be saved.
Uploading a Clone File
On the Apollo+ you wish to clone the data to:
9. From the Apollo “Home Screen” ![]() select menu/options, function key “F4”
select menu/options, function key “F4” ![]() .
.
10. In the menu select “Upload” by using the arrow keys or selecting, key number “7”![]() .
.
11. In the “Upload data into Apollo” field select “Clone data”, using the arrow keys to select from the dropdown menu.![]() In the “using:-” field select “ USB-PC cable” or “
In the “using:-” field select “ USB-PC cable” or “![]() Flash Memory Stick” (Apollo 600+ only).
Flash Memory Stick” (Apollo 600+ only).
12. Connect to the PC with USB cable or insert USB memory stick when prompted.
13. If you have used the USB – PC lead you will need to copy the file you saved to your PC (in the instructions above) to the Apollo drive that will have appeared (you will be asked to save this using “F3”). If you have used a USB memory stick you need to select the clone file from the dropdown on your Apollo.
14. Restart your Apollo tester by turning off and on again.
I'd like to talk to a sales advisor


Sign up to our Newsletter.
Stay up to date with the latest industry and product news, as well as our free educational content such as webinars and our expert guides.
Close